When I started doing the Bay Area Trail Running series last summer, I was looking for a way to embed my running routes into my blogs. Strava and others allow you to embed widgets that show various summaries, but they always take you back to their site when you want to interact with them. I was looking for a more native experience, something that allow my readers to stay on this blog, explore the running routes while reading up my narrative on them.
Embedding Interactive Running Routes
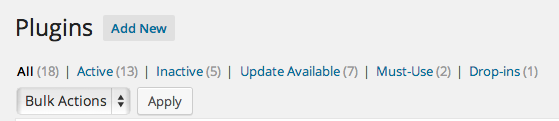
Other than the interactive maps, I was also looking for a way to display the elevation profile. If you are going to explore running routes, you better know how much climbing you are going to do! The Bay Area Trails vary quite a bit in their elevation profiles. If you are running WordPress (I use WP Engine for hosting WordPress) for your blog, then you are in luck! First add the WP GPX Maps Plugin to your WordPress install.

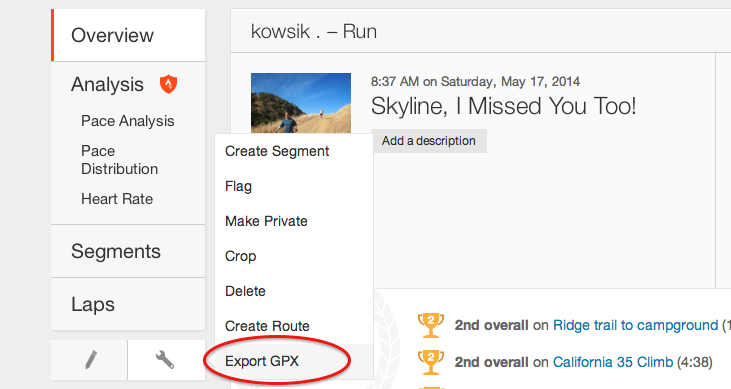 From Settings -> WP GPX Maps, you can configure this plugin in various ways – to display the elevation, pace, cadence, overall appearance of the elevation profile, what type of default map type to use (Terrain, Satellite, etc) and so on. If you are using Strava (Garmin Connect has a similar feature), use the Export GPX to download the GPX file for your running routes. Then go to Settings -> WP GPX Maps, upload the file and you’ll get back a short code, that might look something like this:
[sgpx gpx="/wp-content/uploads/gpx/Skyline, I Missed You Too!.gpx"]
Copy paste this into your blog and boom! You got yourself an interactive map of your running routes in your blog, as shown below:
Incidentally the running route above was a 16.4 mile loop in one of my favorite trails in the Bay Area – Castle Rock State Park.
[sc:follow_me ]
ICYMI – How to Embed Interactive Running Routes in Your Blog – http://t.co/ftE4Qv12P5 #techie #runner
Pingback: URL